
You can make your paper crafts stand out by adding paper pockets on card fronts, tags, and more. Then fill them with whatever you see fit! Then pair with the cute imagery and greetings from the stamp set to send family and friends personalized, heartfelt messages to make them feel loved on special occasions!
Thats what I did with this card.
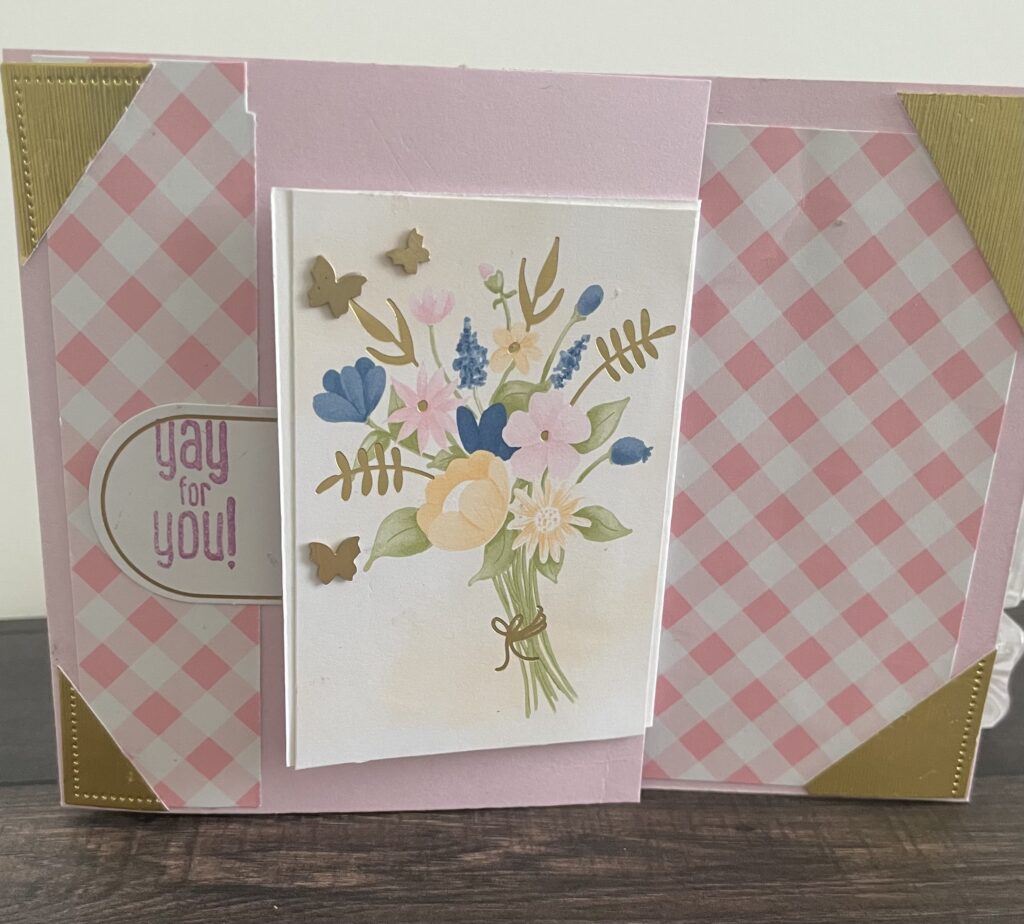
This is the card folded.
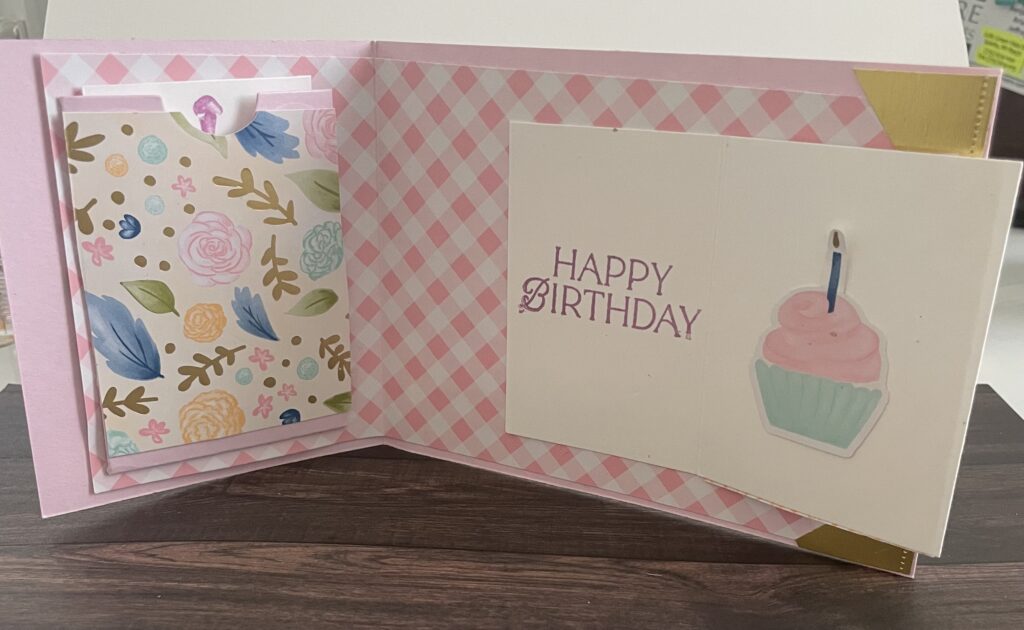 This is the inside. The pocket is located on the left side of the card. I will place a gift card in the pocket.
Stampin’ Up Supplies
- Card stock that measures 4-¼” x 9”. With long side facing upward score at 3-½”
- A strip of DSP that measures 3-¾” x 8-¼”. With long side facing up score at 3”
- A piece of Basic White card stock that measures 4-½” x 3”. With long side facing upward score at 2-¼”
- Middle sized pocket die and a piece of card stock or DSP that measures 3-¼” x 3-¼”. Use the die to cut out pocket from either that card stock or DSP.
- If you used cardstock for pocket and want to decorate with DSP you will need a 2-½” x 3” piece of DSP.
- Tear & Tape 154031
- A strip of the same DSP print you used for the DSP insert of the card that measures 1” x 4”
- Multipurpose Glue 110755
- Paper Trimmer 152392
- Snips 103579
- Cut & Emboss machine 149653
- Medium envelope 159236
- Ephemera from the Wildflower Specialty Designer Series Paper 164591
To see how I made the card watch below.
